Skylights are a fantastic addition to any home, offering both functional and aesthetic benefits. They allow natural light to flood interior spaces, creating a brighter, more inviting atmosphere while reducing the reliance on artificial lighting. This not only enhances the overall ambiance of a home but also helps in lowering electricity costs.
Beyond illumination, skylights can also improve ventilation, especially when designed to open and close. In rooms like kitchens and bathrooms, where moisture and heat can build up, a ventilated skylight can help circulate fresh air, preventing humidity-related issues such as mold and mildew.
Energy efficiency is another key advantage of skylights. When properly installed with energy-efficient glass, they can help regulate indoor temperatures by reducing heat gain in summer and retaining warmth in winter. This contributes to better insulation, reducing strain on heating and cooling systems.
However, to fully reap the benefits of skylights, careful consideration must be given to their placement, installation, and upkeep. Improper installation can lead to leaks, heat loss, or unwanted glare, while neglecting maintenance can result in buildup of dirt, debris, or seal deterioration over time.
In this comprehensive guide, we will explore the benefits of skylights in greater detail, walk through the proper installation process, and provide essential maintenance tips to keep them in optimal condition for years to come. Whether you’re considering adding a skylight to your home or looking to maintain an existing one, this guide will help you make the most of your investment.
The Benefits of Skylights
Enhanced Natural Lighting
Natural lighting is one of the most valuable features of a home, and skylights offer an effective way to increase the amount of sunlight that enters indoor spaces. Unlike traditional windows, which primarily allow light from the sides, skylights bring in sunlight from above, illuminating spaces that might otherwise be dim or windowless.
Increased exposure to natural light has been proven to have positive effects on mental health and overall well-being. Sunlight boosts serotonin levels, which can enhance mood, increase energy, and improve productivity. This is particularly beneficial in workspaces, home offices, or study areas where focus and efficiency are essential.
Additionally, well-lit environments help reduce eye strain, making everyday tasks like reading, cooking, and working on screens more comfortable. By reducing reliance on artificial lighting, skylights also create a more natural and visually appealing ambiance, making homes feel brighter, more spacious, and welcoming.
From an aesthetic perspective, skylights can transform the look and feel of a room. They add architectural interest to ceilings, create dynamic light patterns throughout the day, and can even provide stunning views of the sky, making them a beautiful focal point in any home.
Energy Efficiency & Cost Savings
Energy efficiency is a major advantage of installing skylights, as they can significantly reduce the need for artificial lighting and heating, leading to lower utility bills. By allowing natural light to flood your home, skylights reduce dependence on electric lights during the day, cutting down on energy consumption. This is especially beneficial in areas like kitchens, bathrooms, and hallways where lighting is frequently used.
In colder months, skylights with energy-efficient glazing can contribute to passive solar heating by capturing and distributing warmth from the sun. South-facing skylights, in particular, maximize solar heat gain, reducing the need for artificial heating and keeping indoor spaces warmer. This can be a cost-effective way to improve a home’s thermal efficiency without increasing heating expenses.
However, during the summer months, excessive heat gain can become an issue if skylights are not properly designed. High-performance skylights with insulated glazing, UV coatings, and low-emissivity (Low-E) glass can help control temperature fluctuations. Some modern skylights even come with built-in shades or venting options that allow homeowners to regulate the amount of sunlight entering the home, ensuring comfort throughout the year.
By optimizing placement and choosing the right materials, skylights can become a key part of an energy-efficient home design, helping to maintain a comfortable indoor climate while reducing overall energy costs.
Improved Ventilation & Air Quality

Ventilated or operable skylights offer more than just natural light—they enhance airflow and improve indoor air quality. Unlike fixed skylights, which remain sealed, ventilated skylights can be opened to allow fresh air to circulate throughout the home. This feature is especially beneficial in areas where heat, moisture, and odors accumulate, such as kitchens, bathrooms, and laundry rooms.
By allowing hot, stale air to escape, skylights help regulate indoor temperatures naturally. During warmer months, heat tends to rise and become trapped near the ceiling, making rooms feel stuffy and uncomfortable. Opening a skylight creates a chimney effect, allowing warm air to rise and exit while drawing in cooler air from lower levels. This natural cooling process reduces reliance on air conditioning, lowering energy costs and improving comfort.
Another major benefit of ventilated skylights is humidity control. In moisture-prone spaces like bathrooms, excess humidity can lead to mold growth, condensation, and damage to walls or ceilings. By installing a skylight that opens, homeowners can prevent these issues by allowing moisture to escape before it causes long-term damage. This is particularly useful in homes without adequate ventilation, where excess humidity can become a persistent problem.
Many modern skylights come with automated or remote-controlled venting options, making it easier than ever to manage airflow and indoor climate. Some even feature rain sensors that automatically close the skylight when precipitation is detected, ensuring protection from the elements. These smart features allow homeowners to enjoy the benefits of fresh air without worrying about sudden weather changes.
With proper installation and maintenance, ventilated skylights can transform indoor spaces by improving air quality, reducing heat buildup, and preventing moisture-related issues. Whether manually operated or automated, they provide a functional and energy-efficient way to keep your home fresh and comfortable year-round.
Adds Value to Your Home
A well-installed skylight does more than improve indoor comfort—it also adds value to your home by enhancing aesthetics, energy efficiency, and overall appeal. Homebuyers are increasingly looking for sustainable and stylish features, and skylights check both of those boxes.
From a design perspective, skylights create a sense of openness, making rooms feel larger, brighter, and more inviting. Spaces that were once dark and enclosed can be transformed into well-lit, vibrant areas with a more modern and spacious feel. This enhanced ambiance can make a home more desirable to potential buyers, especially in areas where natural light is limited.
In terms of resale value, skylights can be a smart investment. Homes equipped with energy-efficient skylights are attractive to eco-conscious buyers who prioritize sustainability and cost savings. Features like low-E coatings, insulated glass, and automated venting add functional value by reducing heating and cooling costs. These energy-efficient benefits can translate into a higher selling price and a quicker sale in competitive real estate markets.
Additionally, skylights serve as a unique selling feature that sets a home apart. While many properties have standard windows, homes with well-placed skylights offer an extra touch of luxury and practicality. Buyers often view skylights as an upgrade that enhances both visual appeal and daily living, making them willing to pay a premium for a home that includes them.
If you’re considering selling your home in the future, installing skylights can be a worthwhile investment. Not only do they improve your home’s functionality and energy efficiency, but they also create a lasting impression on buyers, making your property stand out in the market.
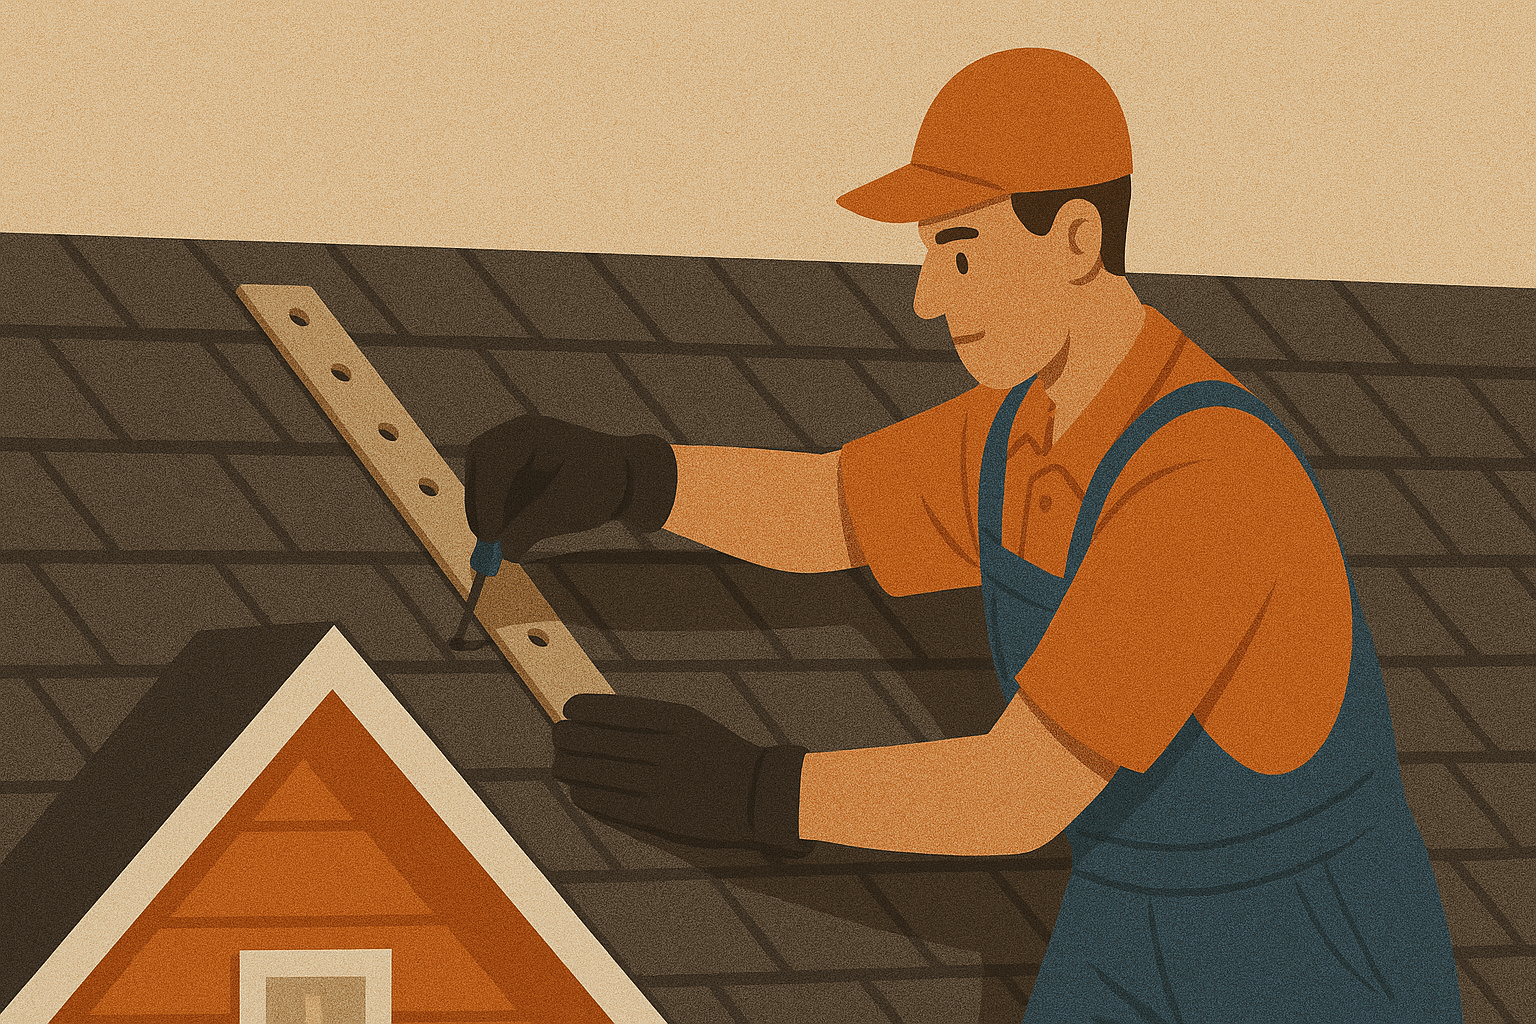
How to Install a Skylight: Step-by-Step Guide
Proper installation is crucial for ensuring that your skylight remains leak-free, energy-efficient, and structurally sound. Whether you’re hiring a professional or tackling the installation yourself, careful planning and execution will make all the difference in its performance and longevity. Below is a step-by-step guide to installing a skylight, ensuring it integrates seamlessly with your roof and provides the maximum benefits.
Step 1: Choose the Right Skylight Type
The first step in the installation process is selecting the type of skylight that best suits your needs. Different skylights serve different purposes, so understanding your options will help you make the best decision.
✔ Fixed Skylights – These skylights are designed for bringing in natural light without ventilation. They are ideal for stairwells, hallways, or dark rooms that need illumination but don’t require additional airflow.
✔ Vented Skylights – Also known as operable skylights, these can be opened manually or electronically to improve airflow and reduce humidity. They are best suited for bathrooms, kitchens, and attics where excess moisture and heat buildup are common.
✔ Tubular Skylights – These compact, reflective tubes capture and redirect sunlight into smaller spaces such as closets, pantries, and hallways. They are a great option for homes with limited roof space for traditional skylights.
Choosing the right type ensures that your skylight complements your home’s needs, enhancing both function and aesthetics.
Step 2: Select the Best Placement
The placement of your skylight significantly affects how much natural light and heat it provides. Careful consideration of orientation and surrounding elements will ensure maximum efficiency.
✔ South-Facing Skylights – These skylights receive the most sunlight throughout the day, making them a great source of warmth during winter. However, they may require shades or low-emissivity (low-E) coatings to prevent excessive heat gain in the summer.
✔ North-Facing Skylights – North-facing skylights provide soft, consistent light without direct sun exposure. They are ideal for homeowners who want natural light without added heat.
✔ East- and West-Facing Skylights – East-facing skylights capture morning sunlight, while west-facing skylights receive intense afternoon sun. These options are beneficial for homeowners who want to optimize daylighting in specific rooms.
✔ Avoid Placement Under Tree Branches – Installing a skylight beneath overhanging branches can lead to debris accumulation, block sunlight, and increase the risk of damage from falling limbs. Choosing an open area on the roof helps prevent these issues.
By strategically placing your skylight, you can optimize its effectiveness while minimizing potential drawbacks.
Step 3: Prepare the Roof Opening
Once you’ve chosen the skylight’s placement, it’s time to prepare the roof for installation. This step involves precise measurements and careful cutting to ensure a perfect fit.
1️⃣ Mark the Skylight’s Dimensions – Use chalk or a marker to outline the skylight’s exact dimensions on both the interior ceiling and exterior roof.
2️⃣ Cut the Roof Decking – Using a saw, carefully cut along the marked lines to create the opening. Take your time to ensure clean, precise cuts that align with the skylight’s frame.
3️⃣ Remove Roofing Materials Around the Cut Area – Peel back shingles or roofing material from the surrounding area. This will allow you to properly integrate the skylight with the existing roof structure.
Ensuring precision during this stage will prevent structural weaknesses and installation issues later on.
Step 4: Install the Skylight Frame
After preparing the opening, it’s time to position and secure the skylight frame. The frame acts as the structural support for the glazing and must be properly sealed to prevent leaks.
1️⃣ Place the Skylight Frame in the Opening – Lower the skylight frame into the prepared cutout, ensuring that it fits snugly and aligns with the roofline.
2️⃣ Secure the Frame – Fasten the skylight frame to the roof using roofing nails or screws. Make sure it is firmly attached to prevent shifting or movement.
3️⃣ Apply Waterproof Flashing – Flashing is essential for preventing water infiltration. Install metal or rubberized flashing around the skylight’s edges to create a watertight seal between the frame and the roof.
A properly installed frame ensures stability and prevents future water damage.
Step 5: Install Glazing & Seal the Skylight
Once the frame is secure, the glazing (glass or polycarbonate) must be properly installed and sealed.
✔ Secure the Glazing in Place – Whether using tempered glass or impact-resistant polycarbonate, ensure that the glazing is firmly attached to the frame. Some skylights come with pre-installed glass, while others require manual installation.
✔ Apply Sealant and Weatherproofing – To create an airtight and waterproof barrier, apply high-quality roofing sealant around the glazing and frame edges. This prevents air leaks and water infiltration.
✔ Reinstall Roof Shingles – To blend the skylight with the existing roof, replace the roofing shingles or tiles around the skylight. Ensure they lay flat and are properly overlapped to maintain the roof’s waterproof integrity.
Proper sealing is one of the most crucial steps in the installation process, as leaks can lead to costly water damage over time.
Step 6: Test for Leaks & Finish Installation
Before considering the installation complete, it’s essential to test the skylight for proper sealing and functionality.
✔ Check for Gaps and Cracks – Inspect the skylight from both the interior and exterior for any gaps, cracks, or weak spots that may allow air or water to seep in.
✔ Perform a Leak Test – Simulate heavy rain by spraying water over the skylight with a hose. Check the interior for any signs of water intrusion.
✔ Test the Venting Mechanism – If the skylight is operable, ensure that it opens and closes smoothly, and that any motorized features function correctly.
✔ Ensure Proper Roof Integration – The skylight should align seamlessly with the roofline, maintaining both aesthetic appeal and functionality.
By thoroughly testing the skylight before finalizing the installation, you can prevent future issues and ensure long-term performance.
Skylight Maintenance Tips: Keeping Your Skylight in Top Condition
To maximize the lifespan of your skylight and maintain its efficiency, regular maintenance is essential. A well-maintained skylight will continue to provide natural light, ventilation, and energy efficiency without the risk of leaks or damage. Below are key maintenance tasks to ensure your skylight remains in optimal condition for years to come.
1. Regular Cleaning for Maximum Light Transmission
Over time, skylight glass can accumulate dirt, dust, pollen, and water spots, reducing its clarity and effectiveness in letting in natural light. A dirty skylight can make a room feel dimmer and decrease its overall aesthetic appeal.
✅ Use a Soft Cloth and Mild Soap – Clean skylight glass every 3–6 months using warm water and a mild, non-abrasive detergent.
✅ Avoid Harsh Chemicals or Abrasive Pads – Harsh cleaners or rough scrubbing materials can scratch the glass or damage protective coatings.
✅ Wipe Down the Interior Trim and Frame – Dust and cobwebs can collect around the skylight edges, diminishing its appearance and functionality.
Regular cleaning ensures that your skylight remains clear and allows the maximum amount of natural light into your home.
2. Inspect for Leaks and Water Damage
Leaks around a skylight can develop due to aging sealants, deteriorating flashing, or shifting roof shingles. Even small leaks can lead to significant water damage over time, causing mold growth and ceiling stains.
✔ Check for Water Stains or Peeling Paint – Discoloration around the skylight edges may indicate water seepage.
✔ Inspect Flashing for Cracks or Corrosion – The metal flashing that seals the skylight against the roof should be intact and properly sealed.
✔ Look for Moisture Buildup – If condensation forms between the panes of glass, it may indicate a broken seal that requires replacement.
✔ Reseal Minor Leaks – Apply roofing caulk or weatherproof tape to minor gaps or cracks to prevent further damage.
Early detection of leaks can prevent costly repairs and extend the lifespan of your skylight.
3. Check for Condensation Issues
Condensation inside a skylight is often caused by temperature differences between the interior and exterior, combined with inadequate ventilation. Over time, excessive condensation can lead to water damage, mold growth, and deterioration of surrounding materials.
✔ Use a Dehumidifier or Exhaust Fan – In moisture-prone rooms like bathrooms or kitchens, reducing indoor humidity can help prevent condensation.
✔ Opt for Double-Glazed or Insulated Skylights – These models are designed to minimize condensation by regulating temperature differences between inside and outside air.
✔ Ensure Proper Attic Ventilation – Poor airflow can trap moisture inside the attic, contributing to condensation issues around the skylight.
Managing indoor humidity levels and selecting the right skylight model can help prevent moisture-related problems.
4. Trim Overhanging Branches and Remove Debris
Skylights positioned under large trees are at risk of accumulating leaves, twigs, and debris, which can obstruct sunlight and contribute to drainage issues. Over time, this buildup can lead to water pooling and potential damage.
✔ Trim Tree Branches Extending Over the Roof – Reducing the number of branches above your skylight minimizes the risk of falling debris and improves exposure to natural light.
✔ Remove Leaves, Moss, or Dirt from Skylight Surfaces – Gently clear any accumulation to maintain the skylight’s clarity and prevent blockages in surrounding drainage areas.
Keeping the skylight and surrounding roof area free from debris ensures proper water runoff and prevents unnecessary wear on the skylight.
5. Schedule Professional Skylight Inspections

Even with regular DIY maintenance, it’s essential to have a professional roofer inspect your skylight annually. A trained expert can detect hidden issues that might not be immediately visible.
✔ Professionals Can Identify Hidden Leaks or Seal Failures – Early detection of damaged seals, cracked flashing, or deteriorated caulking prevents expensive repairs.
✔ Ensure Energy Efficiency – A professional can check if the skylight’s insulation and glazing are still performing optimally, reducing energy waste.
✔ Prevent Structural Damage – Regular inspections help confirm that the skylight remains securely fitted within the roof structure, preventing long-term wear.
Investing in routine professional inspections ensures that your skylight remains safe, efficient, and in excellent condition.
Final Thoughts on Skylight Maintenance
A well-maintained skylight enhances your home by providing natural light, reducing energy consumption, and improving indoor air quality. By regularly cleaning, checking for leaks, managing condensation, trimming surrounding vegetation, and scheduling professional inspections, you can extend the lifespan of your skylight and keep it functioning at its best.
Preventative care not only preserves the beauty of your skylight but also helps avoid costly repairs, ensuring it continues to be a valuable feature in your home for many years to come.